
After reading, the Citrix blog about using Let’s Encrypt certificate I decided to try this out on my test environment. Source = https://www.citrix.com/blogs/2015/12/09/using-lets-encrypt-for-free-ssl-certs-with-netscaler/
I found that I was able to get a free Let’s Encrypt certificate for my test environment, but I also find that when only having one public IP address I needed a SAN certificate to do my testing of different functions on the NetScaler and backend resources.
I flowed the Citrix blog https://www.citrix.com/blogs/2015/12/09/using-lets-encrypt-for-free-ssl-certs-with-netscaler/ all the way up to Steep 2, where I did some changes:
Step 2, multi hostname response:
As we are requesting a SAN certificate Let’s Encrypt is testing for every hostname and the response code. First, create all the FQDN’s to point to your NetScaler at your DNS provider.
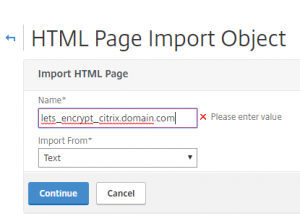
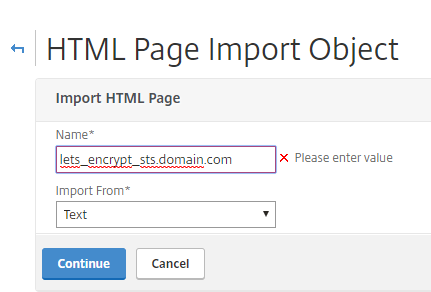
Create html response page for the FQDN’s:
Netscaler > AppExpert > Responder > HTML Page Imports

Create additional FQDN’s response:
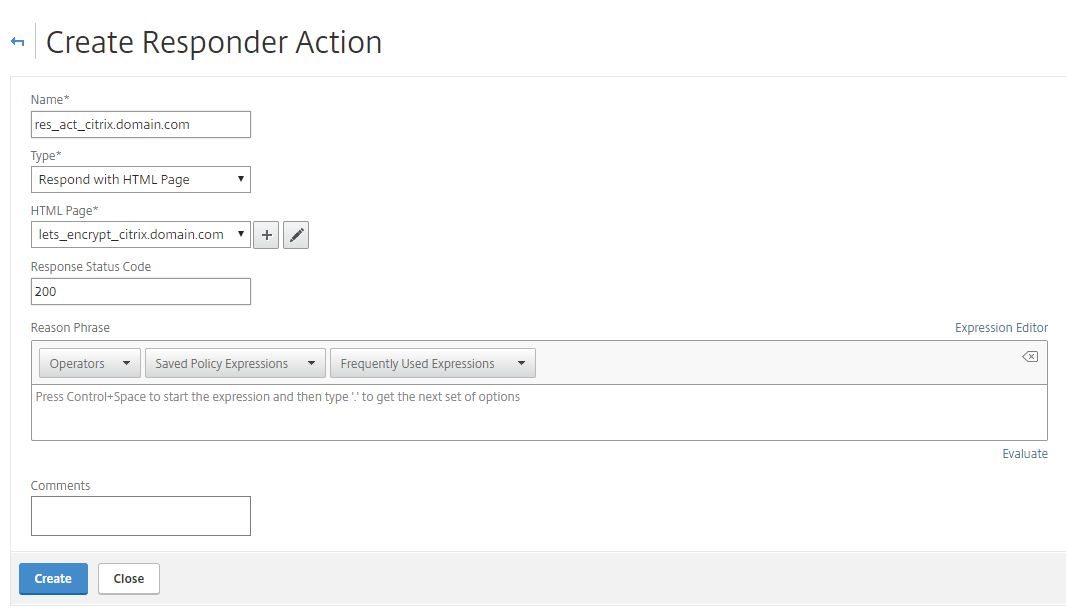
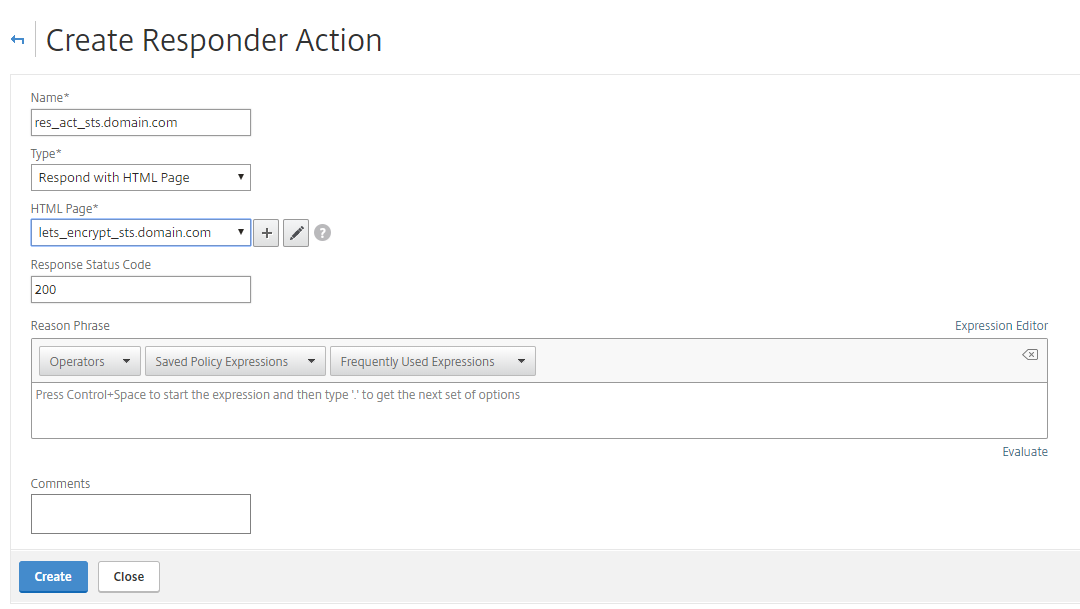
Now create responder actions for every FQDN’s
Netscaler > AppExpert > Responder > Action
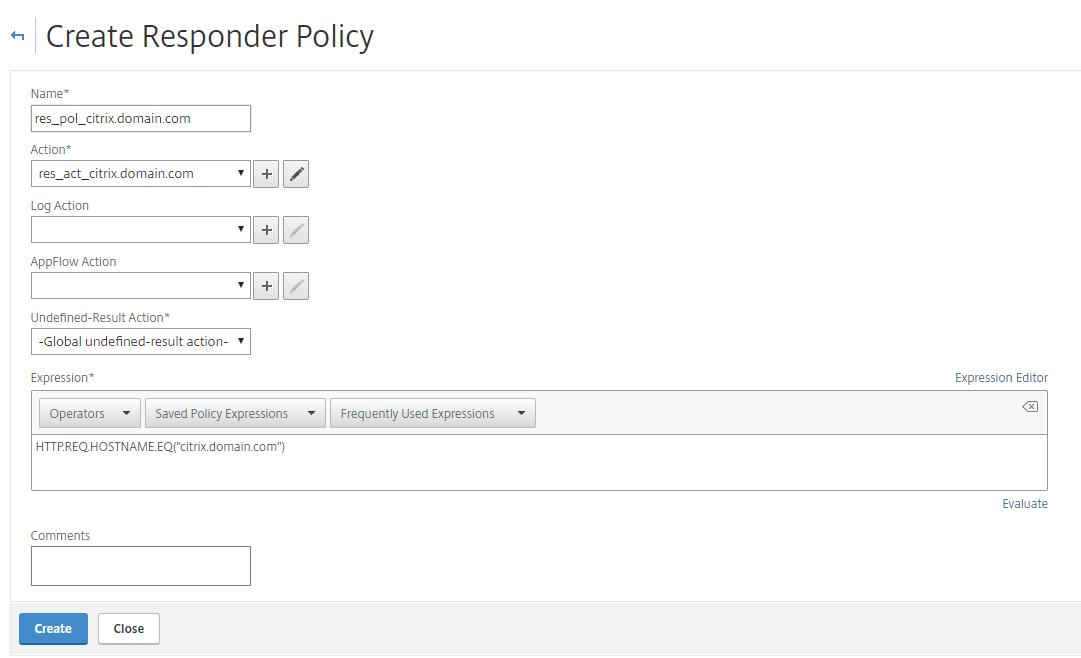
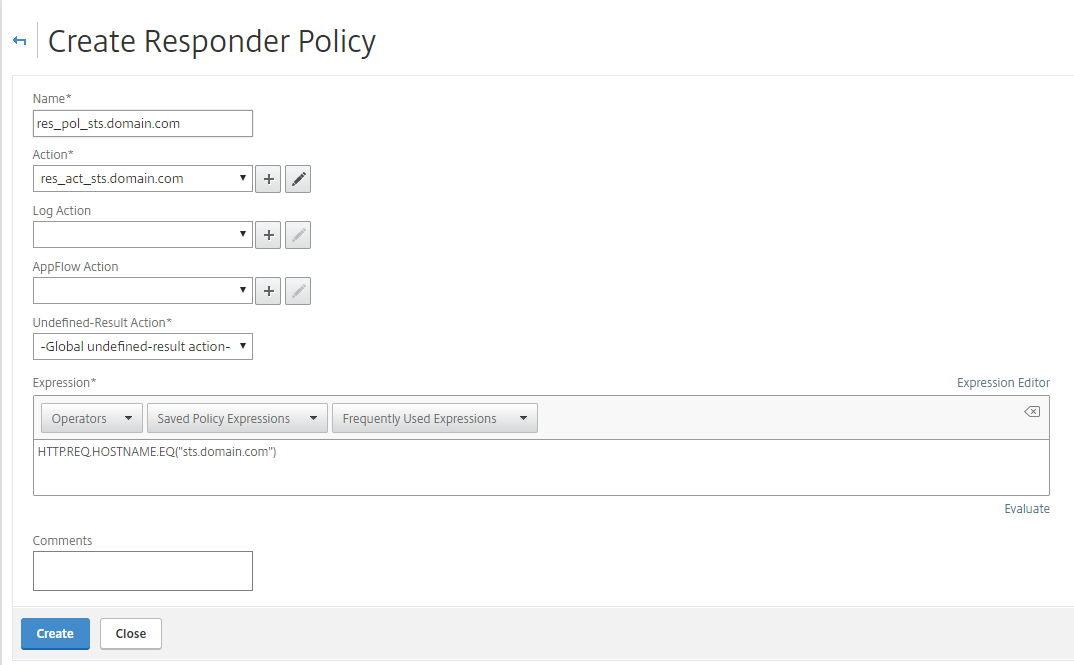
Create responder policies to point the citrix.domain.com and sts.domain.com to the corresponding html page.
Netscaler > AppExpert > Responder > Policies
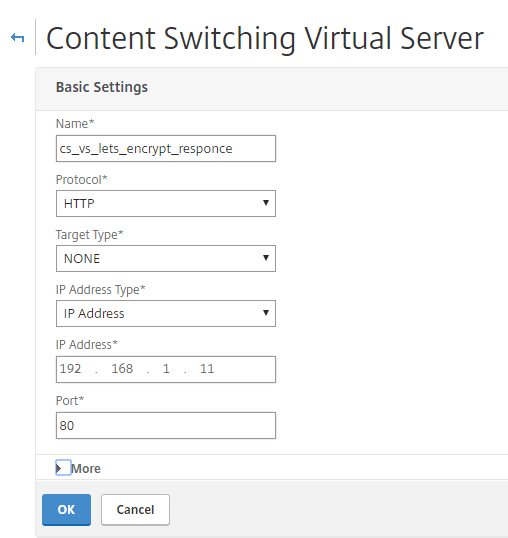
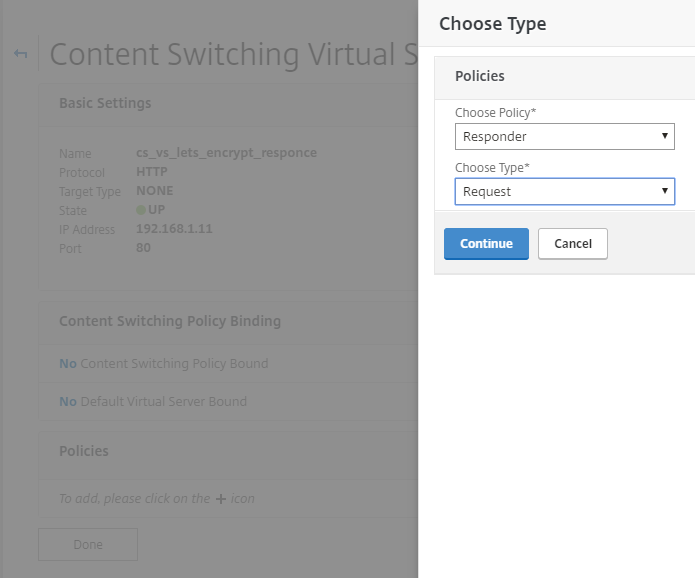
Create content switching vserver on port 80. This is where firewall rules, routes, etc. should be added.
NetScaler -> Traffic Management -> Content Switching -> Content Switching Virtual Servers
Bind your responder policies to this content switching server.
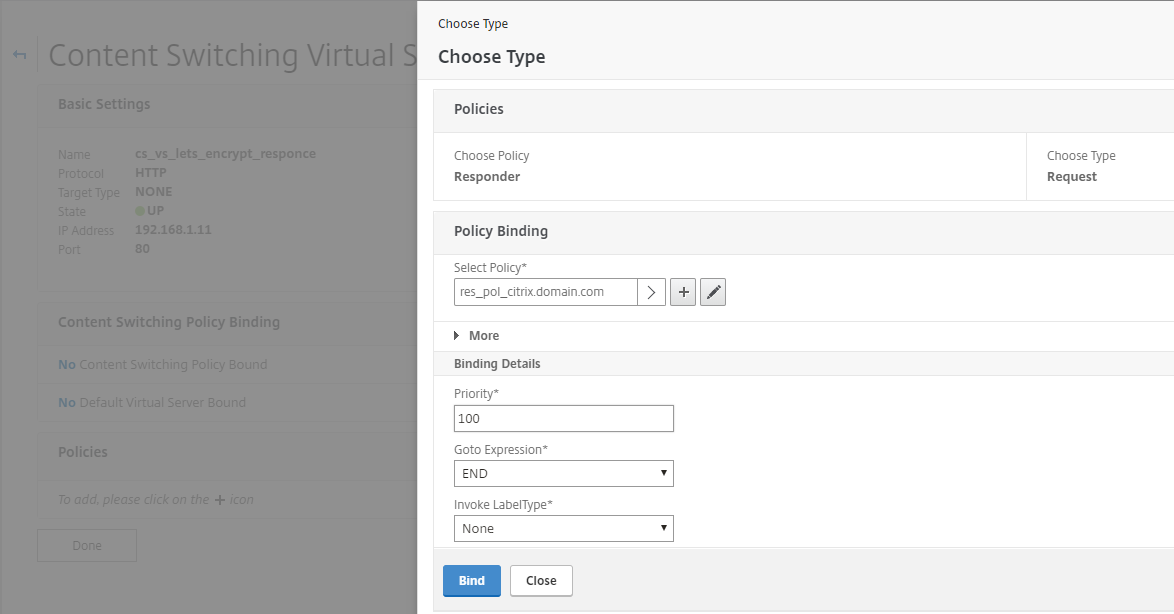
Add binding for other responder policies.
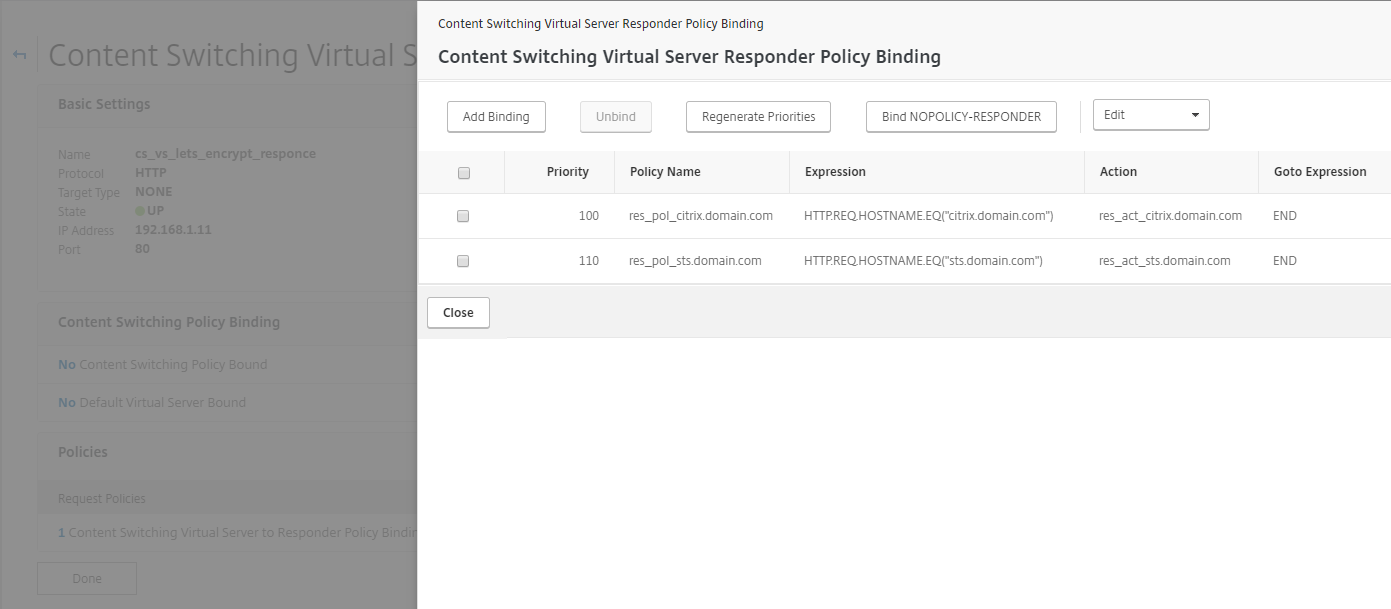
Before continuing test the response for citrix.domain.com and sts.domain.com. The replay would be citrix and sts, if the responder action, policy and content switching configuration is correct.
Step 3: Create the certificate request
To make the SAN certificate request connect to the Let’s Encrypt server on ssh and run the flowing command:
certbot certonly -–manual –-email user@domain.com -d citrix.domain.com -d sts.domain.com –-rsa-key-size 2048
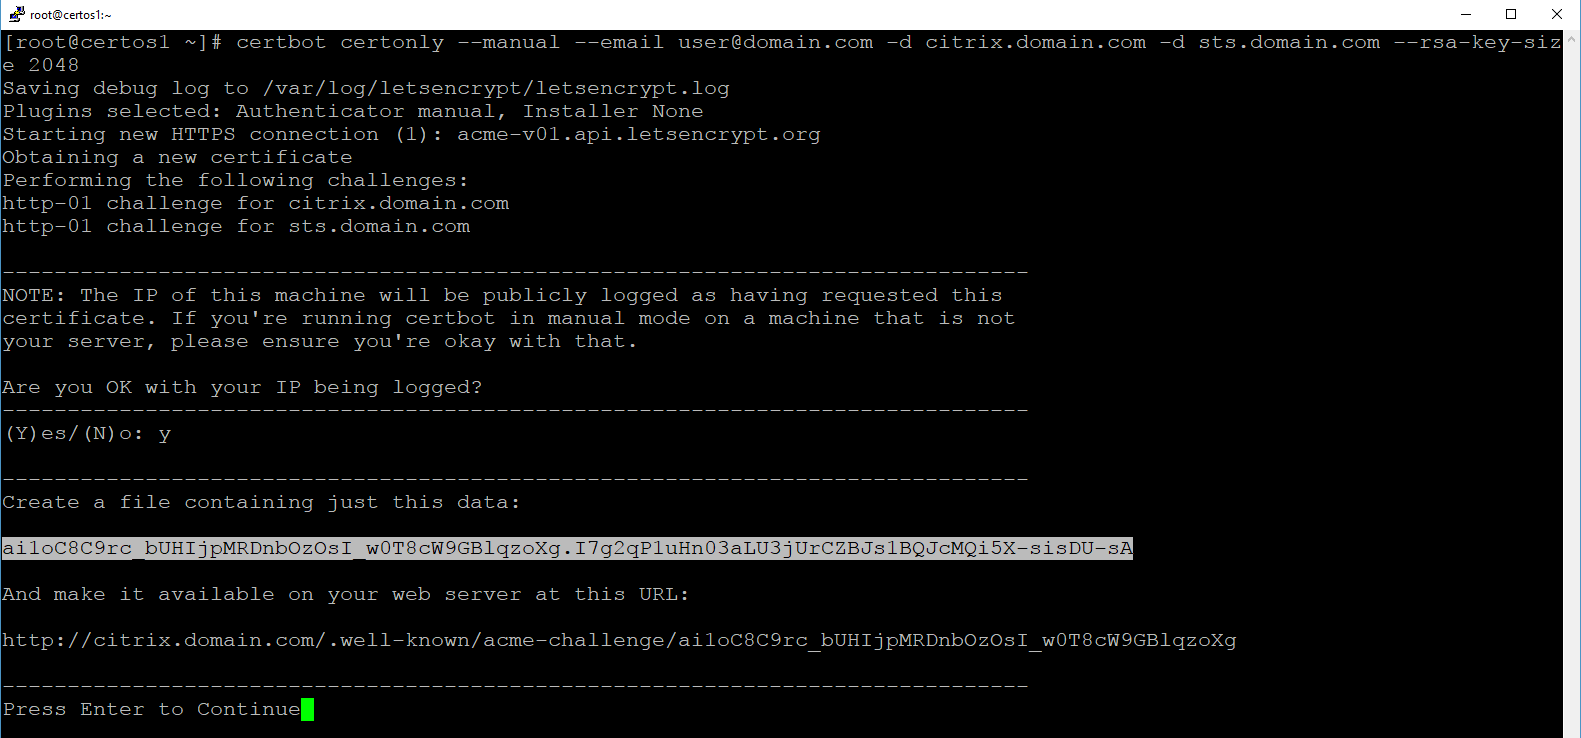
Copy the marked code to the responder html page for citrix.domain.com:
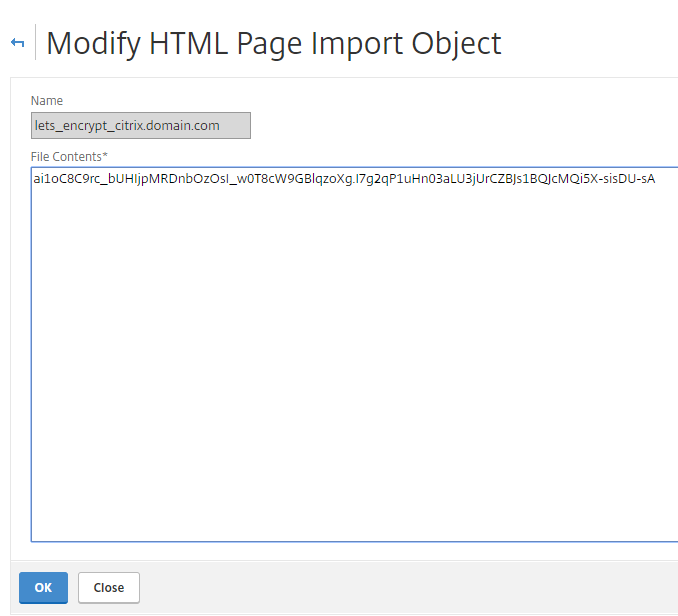
Do the same for the sts.domain.com:

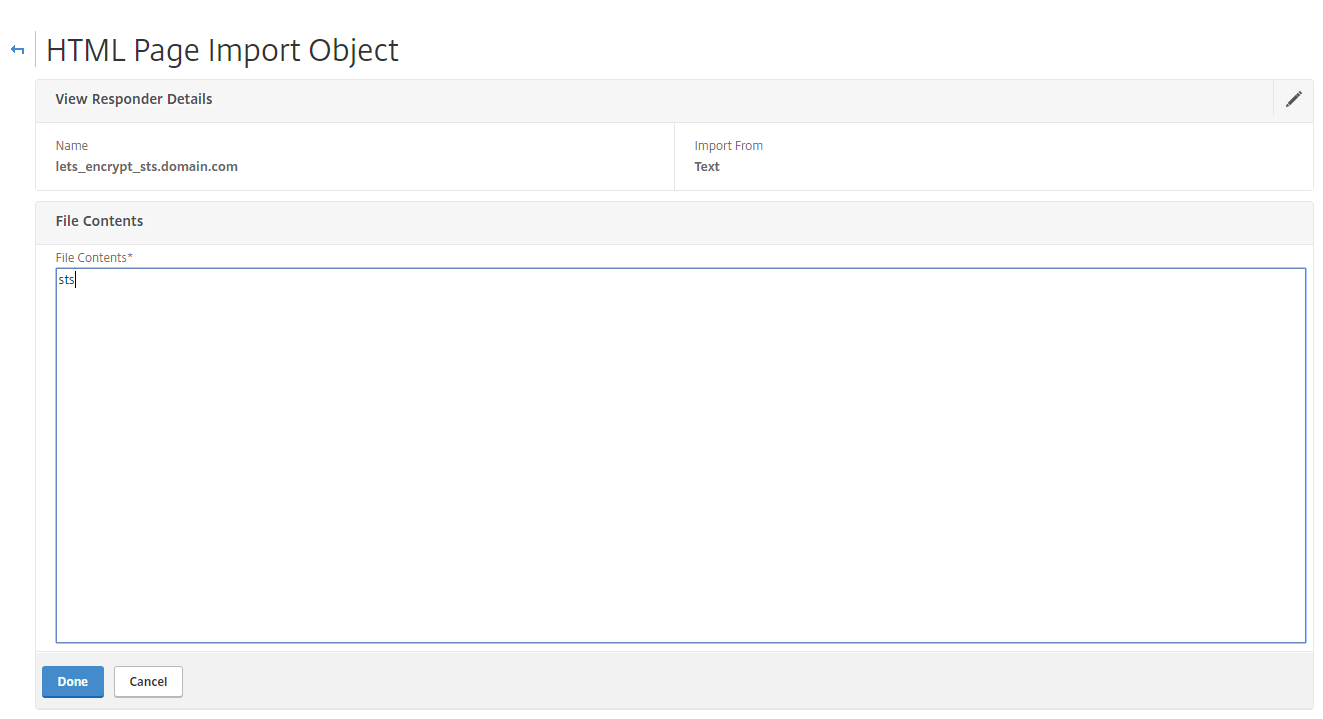
Copy the marked code to the responder html page for sts.domain.com:
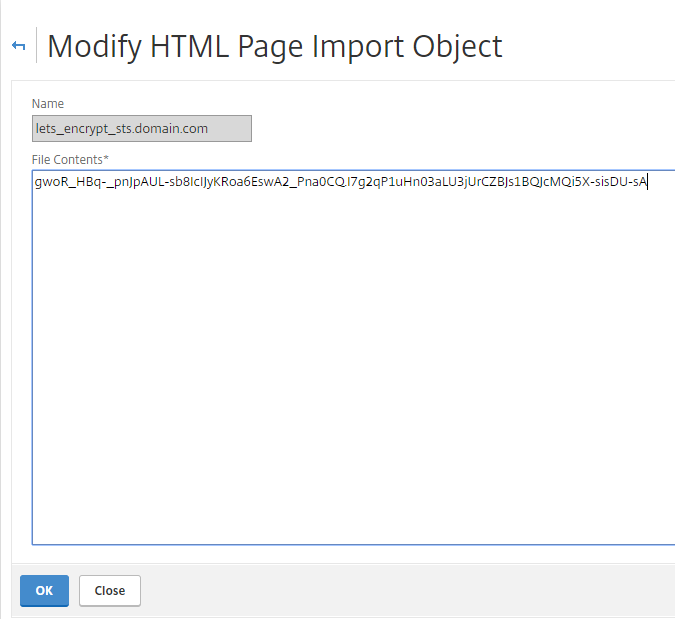
Before continuing test the 2 pages is responding with it’s uniq code. When you have tested the response go on:
Let’s Encypt will validate that the page presented contains the expected text and will then issue the certificate, assuming that your responder is properly working and the response matches what Let’s Encrypt expects.
Upon success, Let’s Encrypt will produce a set of files in /etc/letsencrypt/live/domain.com/. These PEMs need to be converted before they will work with the netscaler.
- pem – the actual server cert
- pem – the intermediate certificates required
- pem – the server cert + the chain
- pem – the private key for the server cert
To get the certificate installed on the NetScaler flow Step 4, on https://www.citrix.com/blogs/2015/12/09/using-lets-encrypt-for-free-ssl-certs-with-netscaler/
Let’s Encrypt will support wildcard certificates in 2018, but for now we can get a SAN certificate with multiple FQDN’s. With NetScaler Content Switching we can then control multiple sites on one public IP.