Tag: NetScaler

NetScaler GEO IP Web Site Protection

You can use the NetScaler to make GEO IP filter to your Web Sites. This can enhanced your security, as traffic only from specified countries is allowed. You can have Web Sites with data you don’t wont specified countries to access.

You can also use it to send users from specified locations to specified Web Sites, with are customized for them.

In the flowing example I simply block all traffic not from DK locations.

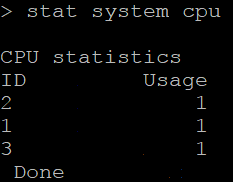
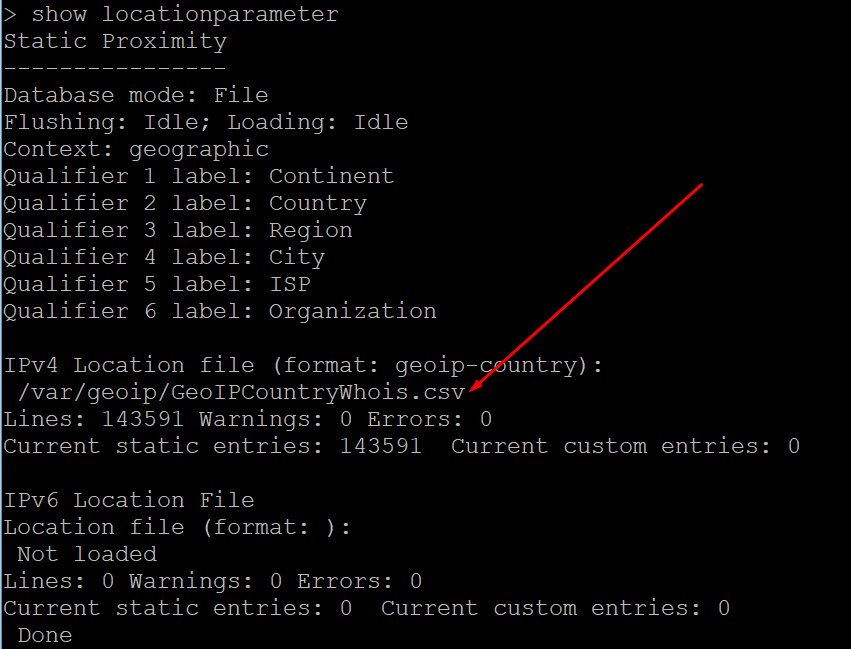
First check if your GEO IP is imported:

Update:

In the new build of Citrix ADC/NetScaler the GEO IP Database is included. You only need to enable the Citrix ADC/NetScaler to you it:

add locationFile /var/netscaler/inbuilt_db/Citrix_Netscaler_InBuilt_GeoIP_DB_IPv4

set locationParameter -matchWildcardtoany YES

***** Old blog, start *****

If status is “Not Loaded” upload the GEO IP Database to /var/geoip

I have downloaded the GEO IP Database from http://geolite.maxmind.com/download/geoip/database/GeoIPCountryCSV.zip

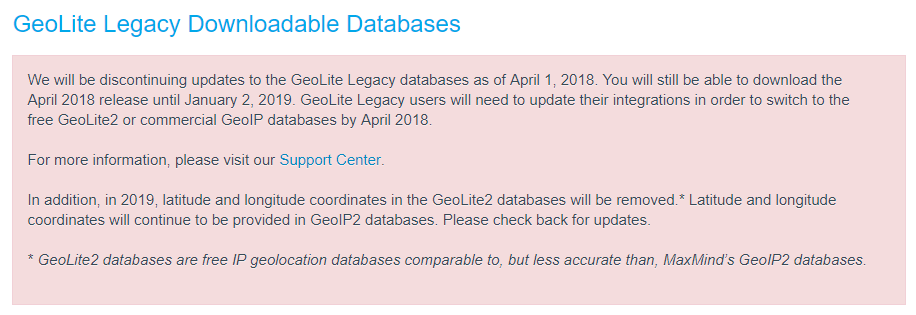
Unforcedly this is a legacy database and maintains of this will stop, but for testing the configuration it will be fine. This is the statement from MAXMIND:

After uploading the file “GeoIPCountryWhois.csv” to the /var/geoip/ you need to configure the NetScaler to load it:

Control that it is loaded:

As after NetScaler Version 11.1 Build 53.11 you need to enable wildcard search, with this:

***** Old Blog, end *****

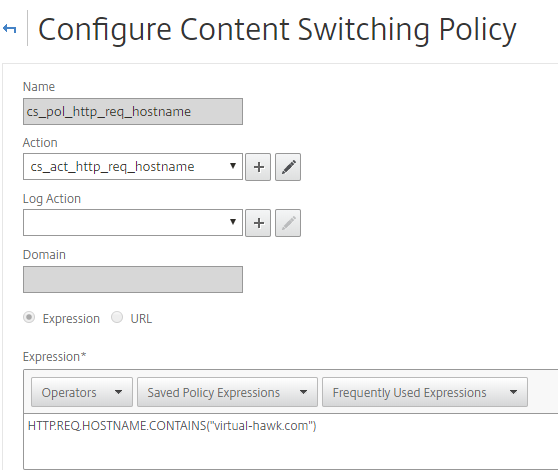
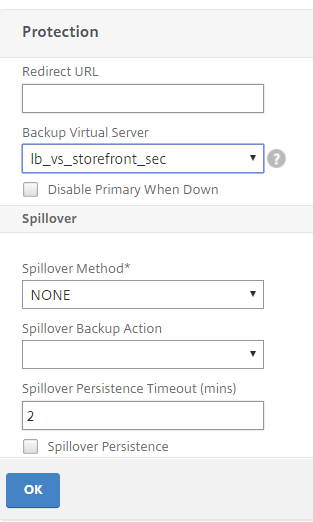
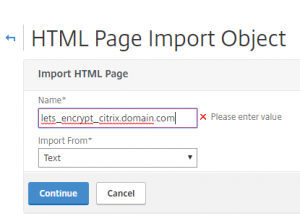
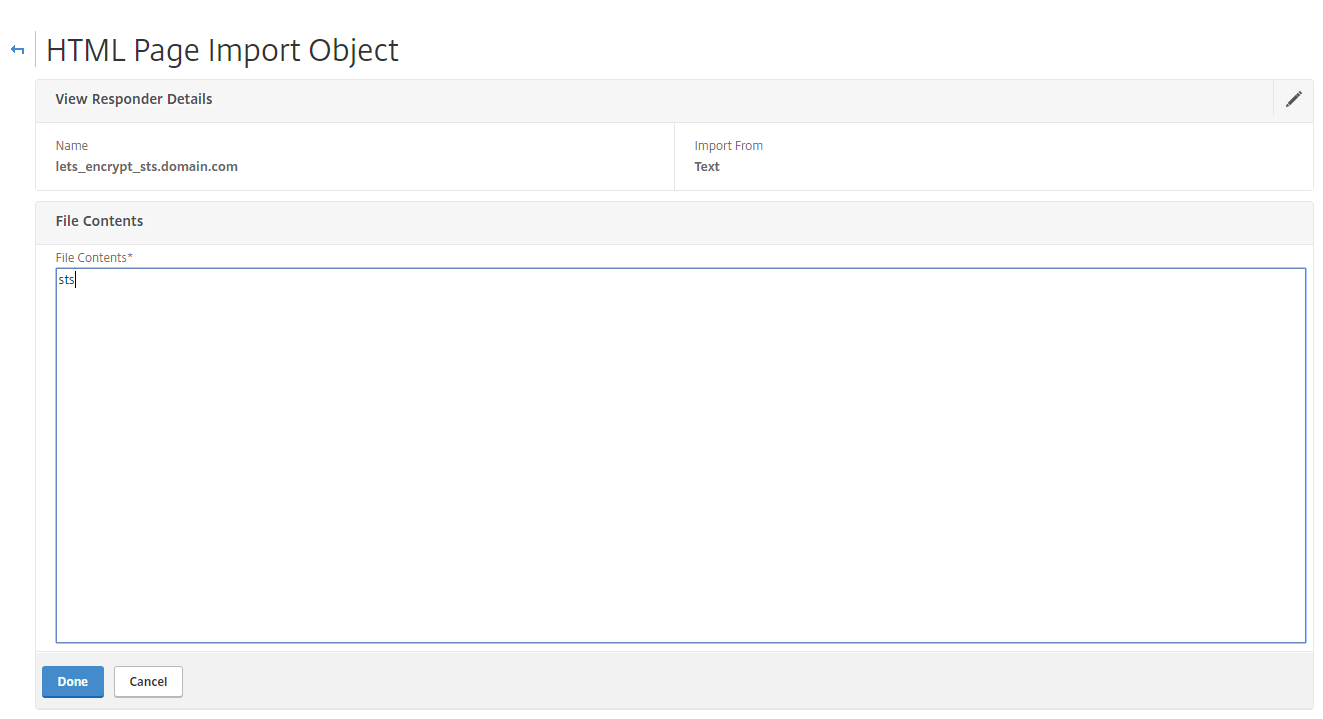
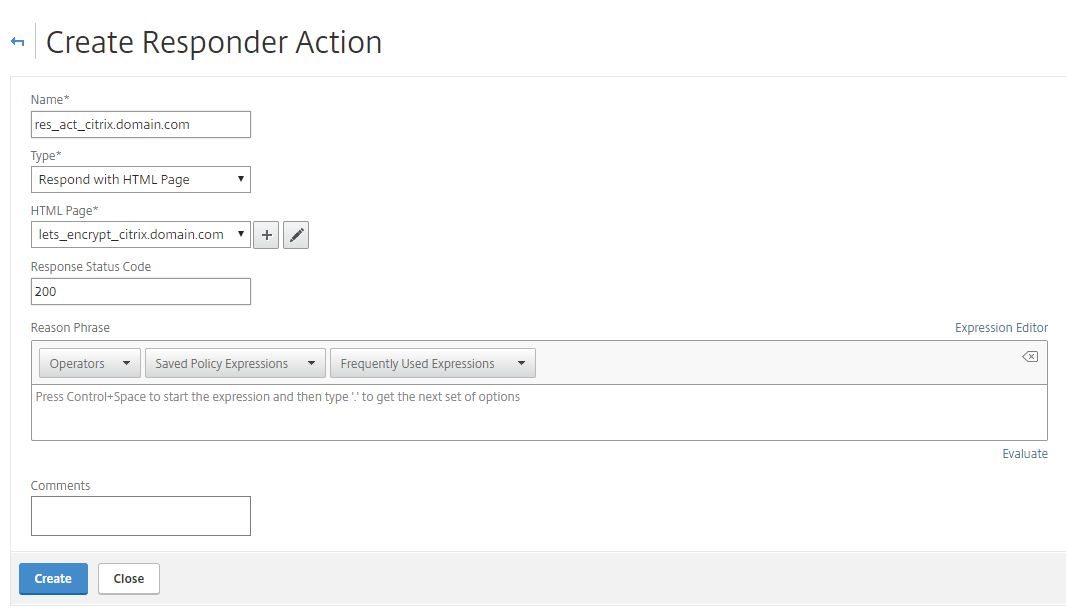
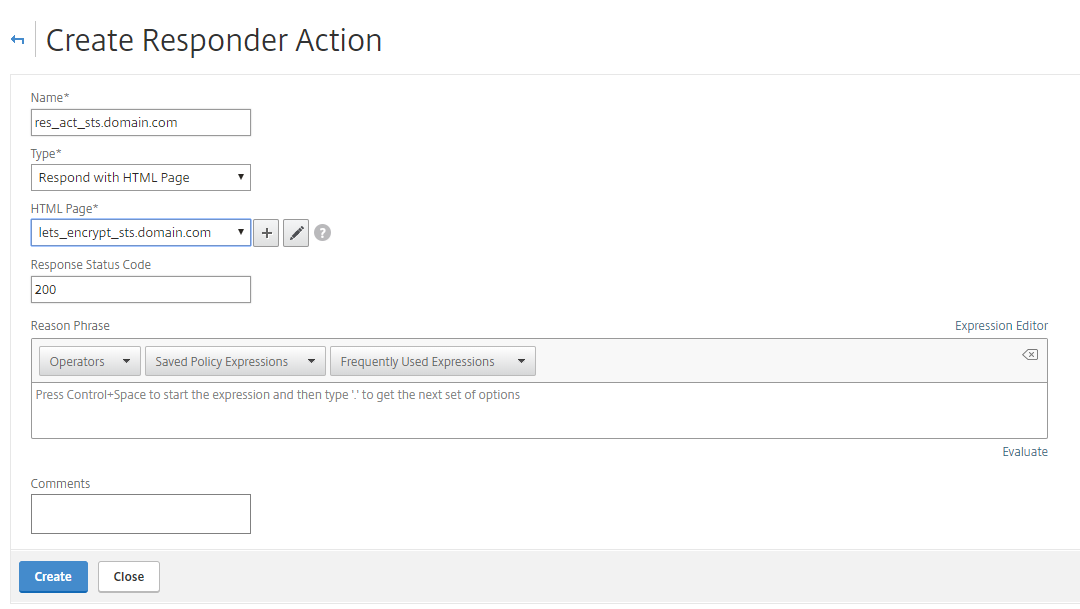
For testing, I have made a response action:

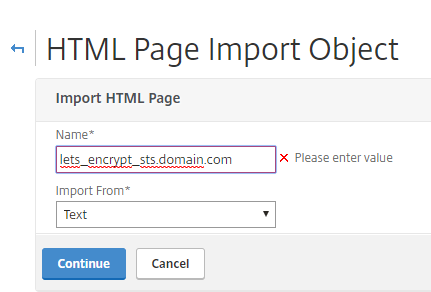
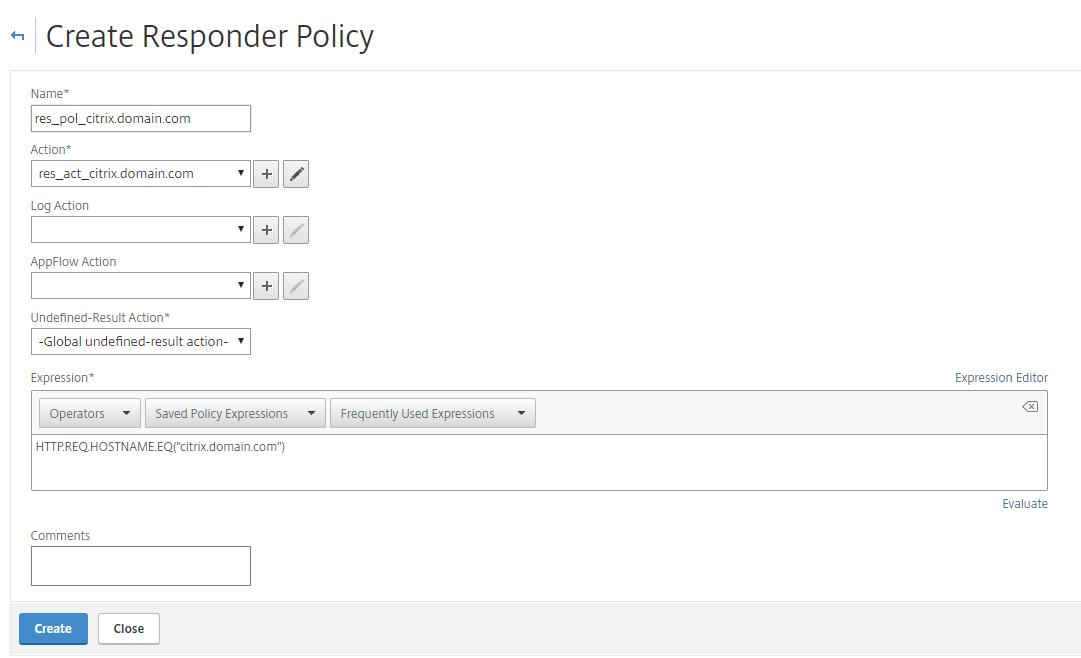
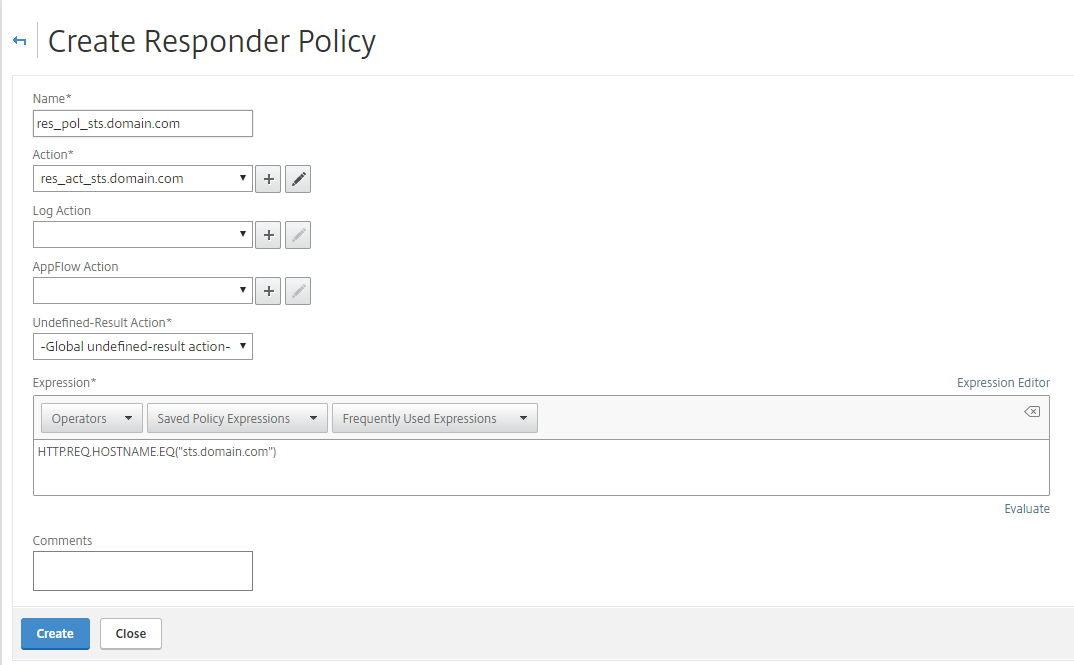
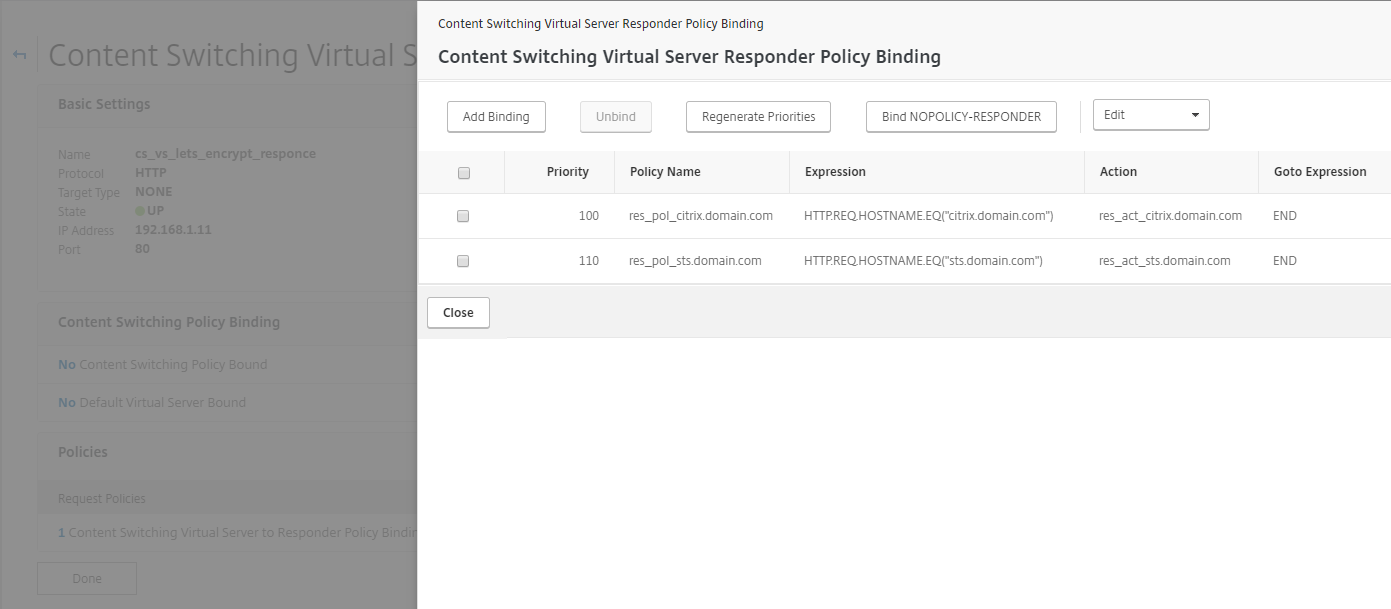
And a response policy:

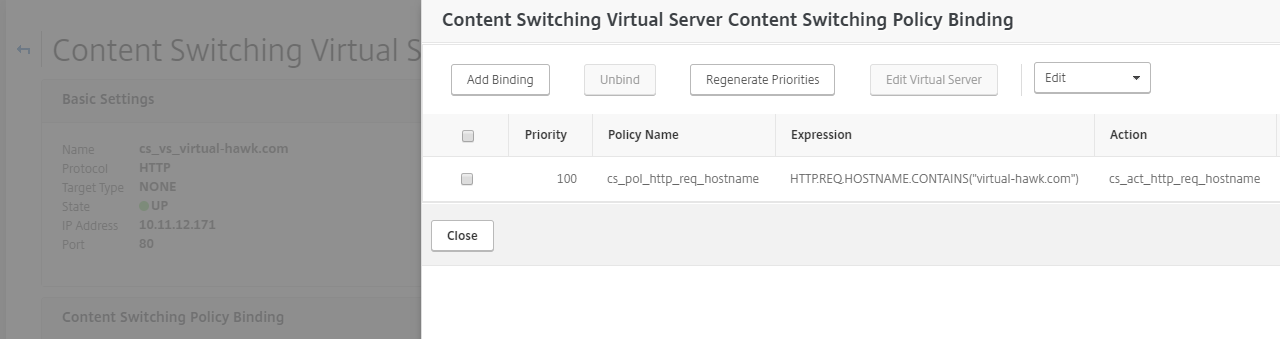
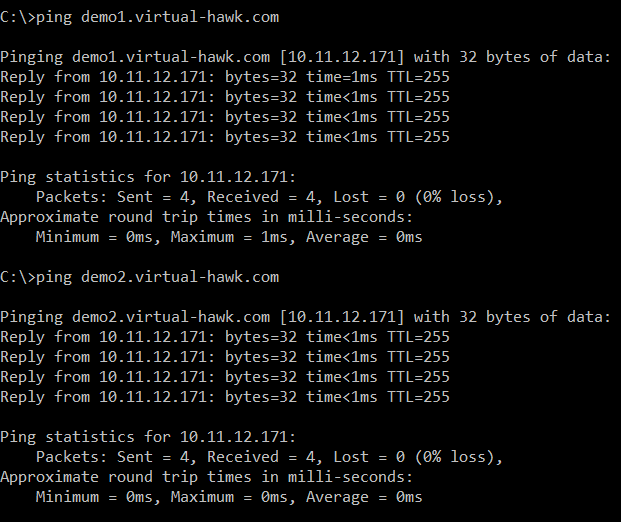
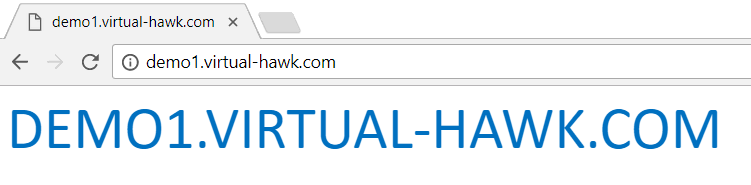
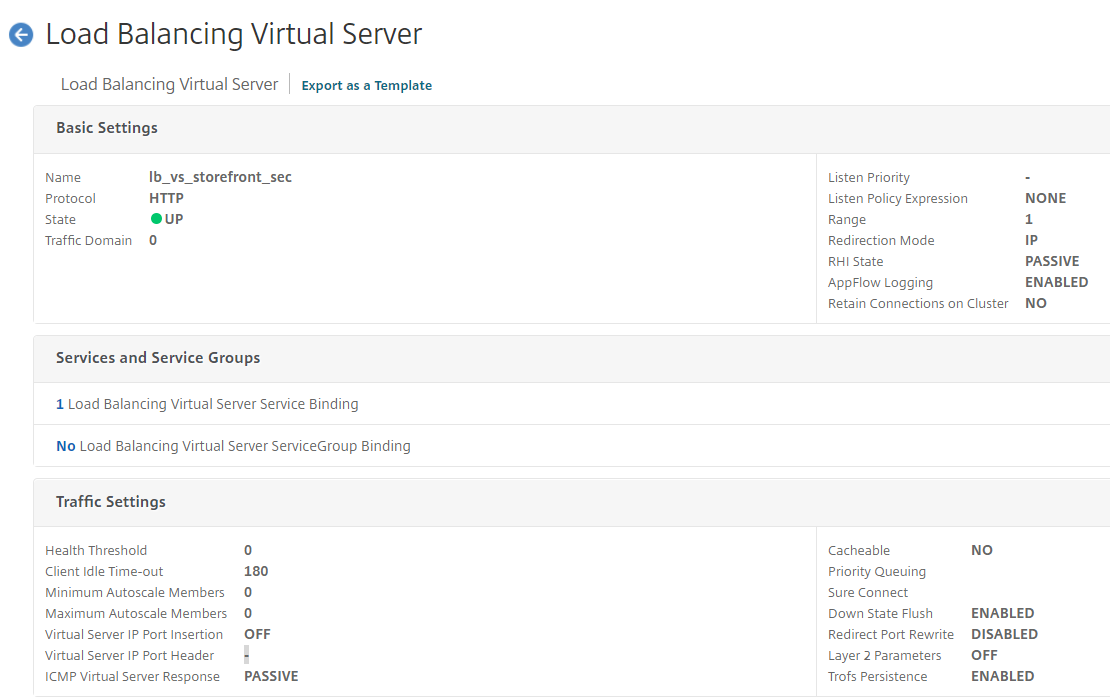
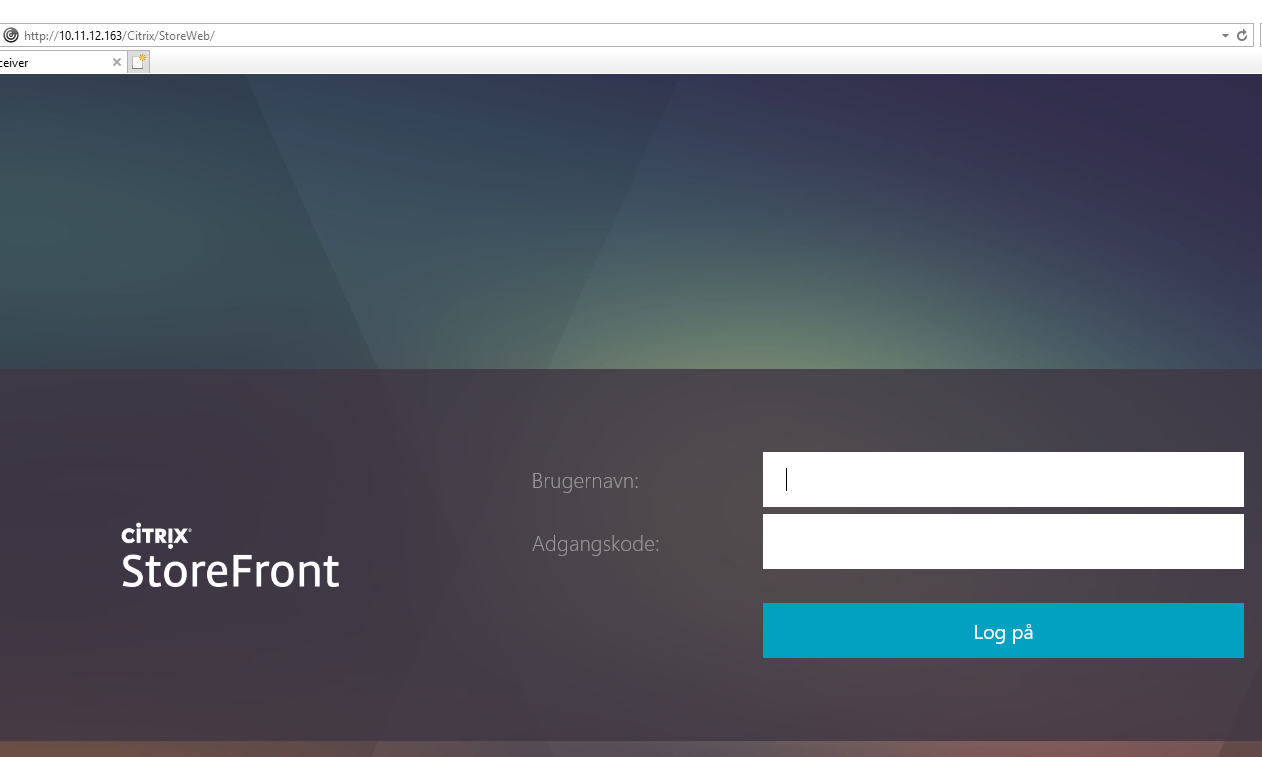
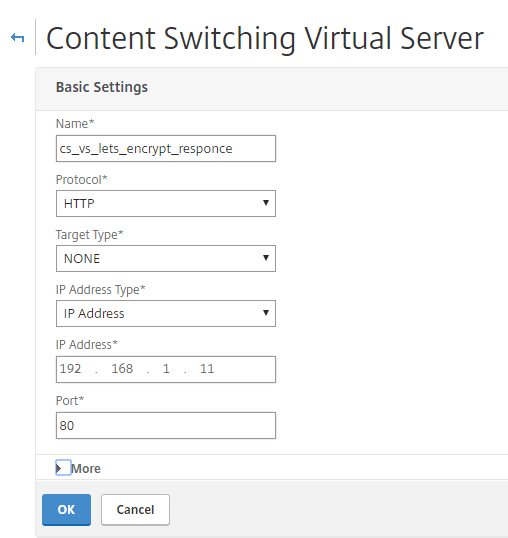
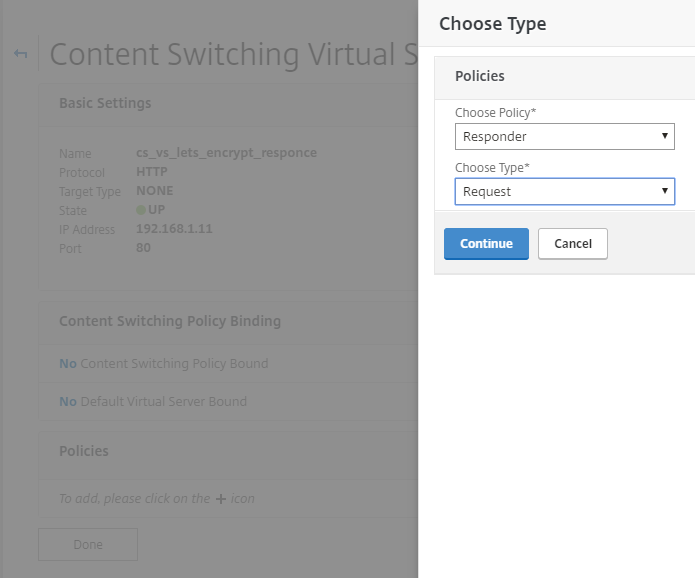
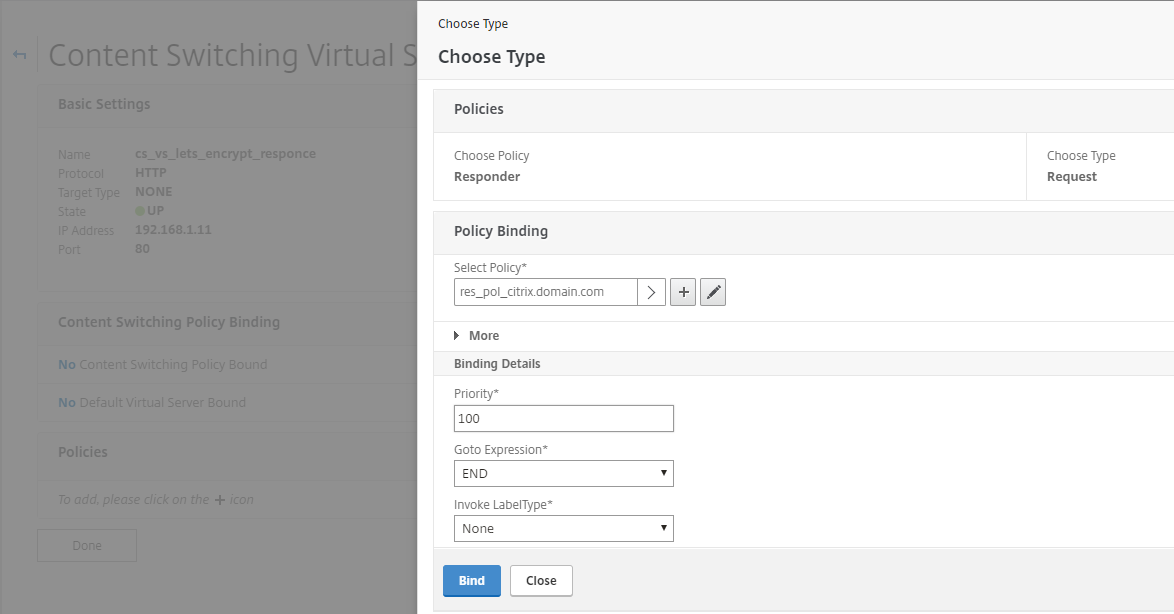
Now bind the responder policy to the Load Balancing vServer, and test.

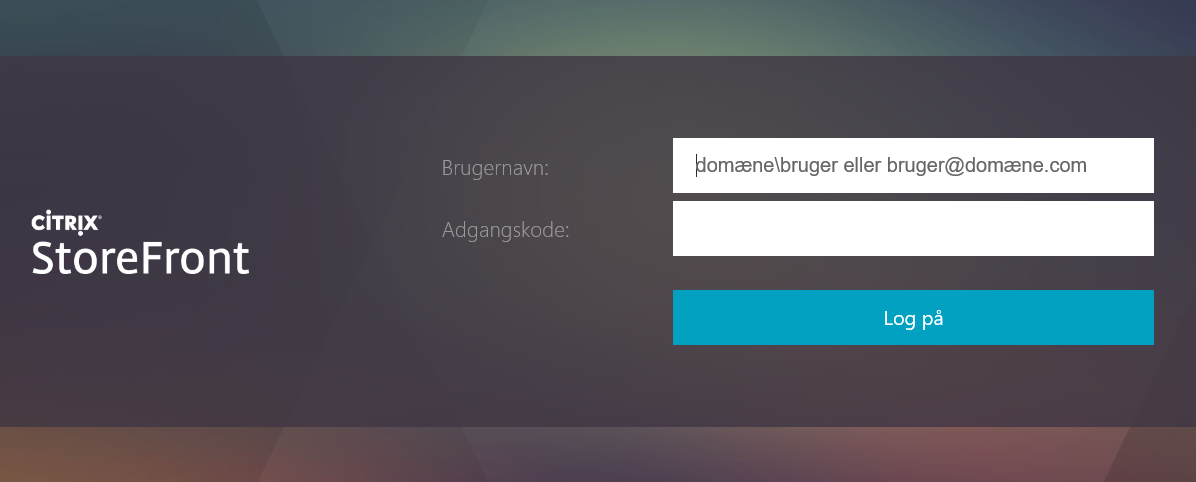
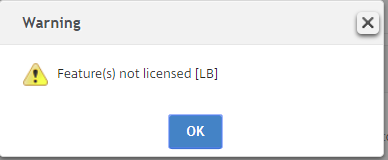
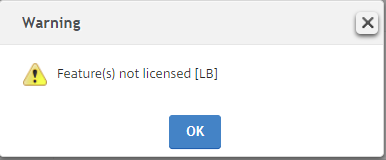
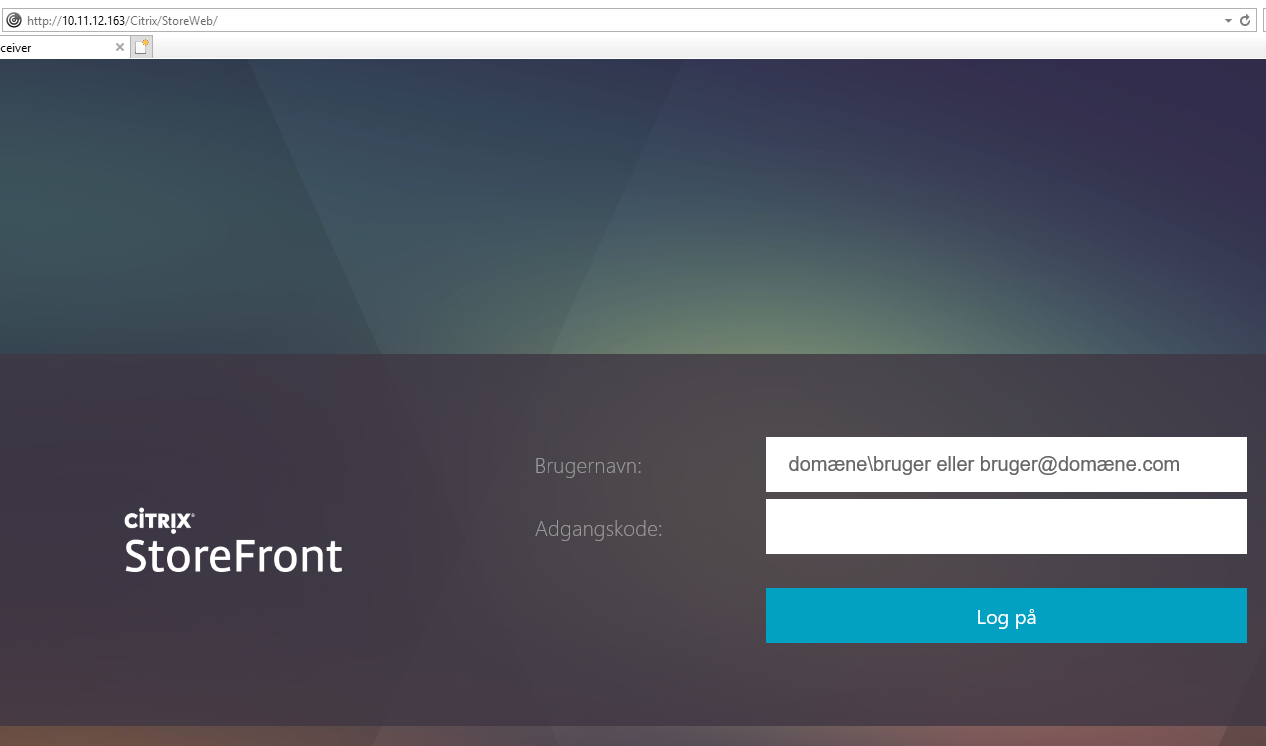
To trigger a block a simply change the DK to another country, as I have no way to test from other than DK IP addresses. When changing to SE, I get the flowing message when testing:

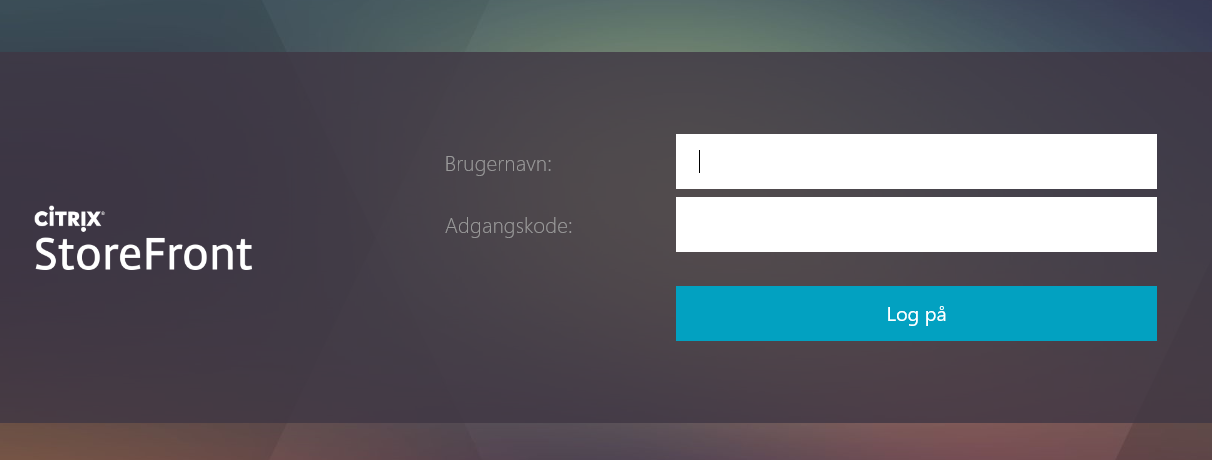
I recommend that you simply use a drop, to hide that you actually make the GEO IP check. You can do that with:

Conclution:

GEO IP can be used to enhanced your security as you can set a policy to witch country that are allowed to access a Web Site or a Access Gateway.

You can use GEO IP to send users to specified Web Server based on their public IP Adresses.

CLI Commands:

show locationparameter

add locationfile /var/geoip/GeoIPCountryWhois.csv -format GeoIP-Country

set locationParameter -matchWildcardtoany YES

add responder action res_act_display_blocked_page respondwith “\”Sorry, the IP address you are connecting from (\”+CLIENT.IP.SRC+\”) is detected as untrusted. Access to our systems from your location is not allowed.\””

add responder policy res_pol_drop_non_dk “CLIENT.IP.SRC.MATCHES_LOCATION(\”*.DK.*.*.*.*\”).NOT” res_act_display_blocked_page

set responder policy res_pol_drop_non_dk -action DROP

Citrix Advanced Content Switching Policy/Action

If you have, many websites Load Balancing on the NetScaler you properly use Content Switching to minimize the need of IP addresses. For this to work you have policies and actions to control the traffic flow. However, do you know that with NetScaler you can use expressions to configure the Content Switching actions?

This can come in handy when managing multiple websites Load Balancing. Let me show you a short configuration to demonstrate how this I working.

I have 2 demo web sites configured demo1.virtual-hawk.com and demo2.virtual-hawk.com. I have created the servers with FQDN names, as I am using host names on the web sites.

IIS configuration:

NetScaler Server configuration:

I then created 2 service for the web sites:

2 Load Balancing Virtual Serves for the Content Switching to go to. These are “non addressable”, because all traffic will come through the Content Switching Virtual Server:

The important thing is the naming of the Load Balancing Virtual Server, as we will use that in the Content Switching Action.

I have made a Content Switching Action with expressions used for targeting the Load Balancing Virtual Server:

With the use of the expression “cs_lb_vs_” + HTTP.REQ.HOSTNAME, the action will go to cs_lb_vs_demo1.virtual-hawk.com if the client request the site demo1.virtual-hawk.com.

The Content Switching Policy, I only need 1:

Finely I created the Content Switching Virtual Sever, and bound the policy to it:

Now for the test I checked the demo1.virtual-hawk.com and demo2.virtual-hawk.com are going to the Content Switching Virtual Server on 10.11.12.171:

When I test from the browser, I get the flowing:

Conclution:

With the use of Content Switching Action expressions, we can minimize the NetScaler configuration. For any new sites, I only have to configure the Load Balancing Virtual Servers with the right naming and no more. All the Content Switching are still the same and already configured.


CLI Commands:

add server demo1.virtual-hawk.com 10.11.12.172

add server demo2.virtual-hawk.com 10.11.12.173

add service lb_svc_demo1.virtual-hawk.com demo1.virtual-hawk.com HTTP 80 -gslb NONE -maxClient 0 -maxReq 0 -cip DISABLED -usip NO -useproxyport YES -sp OFF -cltTimeout 180 -svrTimeout 360 -CKA NO -TCPB NO -CMP NO

add service lb_svc_demo2.virtual-hawk.com demo2.virtual-hawk.com HTTP 80 -gslb NONE -maxClient 0 -maxReq 0 -cip DISABLED -usip NO -useproxyport YES -sp OFF -cltTimeout 180 -svrTimeout 360 -CKA NO -TCPB NO -CMP NO

add lb vserver cs_lb_vs_demo1.virtual-hawk.com HTTP 0.0.0.0 0 -persistenceType NONE -cltTimeout 180

add lb vserver cs_lb_vs_demo2.virtual-hawk.com HTTP 0.0.0.0 0 -persistenceType NONE -cltTimeout 180

bind lb vserver cs_lb_vs_demo1.virtual-hawk.com lb_svc_demo1.virtual-hawk.com

bind lb vserver cs_lb_vs_demo2.virtual-hawk.com lb_svc_demo2.virtual-hawk.com

add cs action cs_act_http_req_hostname -targetVserverExpr “\”cs_lb_vs_\” + HTTP.REQ.HOSTNAME”

add cs policy cs_pol_http_req_hostname -rule “HTTP.REQ.HOSTNAME.CONTAINS(\”virtual-hawk.com\”)” -action cs_act_http_req_hostname

add cs vserver cs_vs_virtual-hawk.com HTTP 10.11.12.171 80 -cltTimeout 180

bind cs vserver cs_vs_virtual-hawk.com -policyName cs_pol_http_req_hostname -priority 100

Citrix NetScaler Gateway Enterprise Edition, Storefront High Availability, Poor man’s solution

Belive it or not but some still have Citrix NetScaler Gateway Enterprise Edition running. The Citrix NetScaler Gateway Enterprise Edition is a special editions witch was made to replace the Access Gateway 5.x.

As you can see, many of the NetScaler features are not available:

Special the Load Balancing Feature can be a problem, as we the need another Load Balancing system to handle Storefront High Availability.

Well as the Load Balancing feature is not licensed is not the same as it is not there. It is, and we can use it, not to Load Balanced traffic between to Storefront server, but as failover. Many times this will be fine for the owners of the Citrix NetScaler Gateway Enterprise Edition.

I have to Severs with Storefront. To demonstrate the serveres is not in a Storefront Server Group as I need to different setup’s to identify witch server I am connected to.

The Server SF1 looks like this:

The Server XDC1 looks like this:

First, I create the SF1 and XDC1 Servers in the NetScaler configuration:

Then I create the Storefront monitor:

Then I create a service for each server. This has to be a service and not a service group, because we are using failover and not Load Balancing as the feature is not licensed.


As we are doing a Load Balancing Failover configuration, we start with the Virtual Server that will take over if the primary Server is not responding. This does not need to be direct accessible and that is why it does not have an IP address.

Then we create the Virtual Server that the clients are connecting too:


Just ignor the warnings, this is because the feature is not licensed, but when we test you will see that it is working as expected:

Now bind the Load Balancing Service to the Load Balancing Virtual Server:

This we know, J

Finely use the “Protection” to direct the traffic to the secondary storefront when the primary is down:

I know:

This end us up with this:

To test we connect to the virtual server of 10.11.12.163, and get the Storefront login site of the XDC1:

We will be getting this as long as the Storefront site is working on the XDC1. When I go and stop the Internet Information Service on the XDC1, the NetScaler service svc_xdc1_http goes down:

When I tests again I get the Storefront site on SF1, as the NetScaler sends the traffic to the Backup Virtual Server, because the primary service is down:


Conclusion:

As for now, we can use the Load Balancing Failover even when the Load Balancing is not licensed. If Citrix have any plans to change this, we do not know. There in their rights to do that, so be aware of that.

In the example a have used HTTP, but it will work with SSL too. SSL I recommended as the users will type username and password and this we be sendt on the network in clear text if using HTTP.

I do not see it to be a problem that we are using failover and not real Load Balancing. Look at the flowing about max. Connections to a single Storefront Server: https://www.citrix.com/blogs/2015/06/30/storefront-scalability-update/

I sure, that the 50 Mb through put of the Citrix NetScaler Gateway Enterprise Edition will be the limit before the Storefront.


NetScaler VPX Hardware

Many customers are using the NetScaler VPX, on their hypervisor. This is a god supplement for the MPX or SDX platforms, if you do not need the SSL Card power of the NetScaler.

The NetScaler VPX are available in the flowing models:

Normally I see the VPX 10 to VPX 3000 at customer’s sites. The VPX 3000 comes with the XenMobile Cloude license, but is limited to XenMobile configuration and Micro VPN tunnels.

(From https://www.citrix.dk/buy/licensing/product.html)

As you can see on the models list the from VPX 1000 and up the license support multiple packed vCPU’s (1 vCPU is used for management) When installing NetScaler VPX on your hypervisor Citrix Provided a template for this. This template only add 2 vCPU’s to the virtual NetScaler as this is the same template for all models.

Many forget that it is possible to change the number of vCPU’s if they have VPX 1000 or higher licenses. If you consider changing the vCPU of your NetScaler VPX remember that every vCPU need 2 GB memory as minimum.


If you change this after initial install, you have to check that the extra packed CPU and memory are added. This can be done with the flowing commands:


Lets Encrypt SAN Certificate

After reading, the Citrix blog about using Let’s Encrypt certificate I decided to try this out on my test environment. Source = https://www.citrix.com/blogs/2015/12/09/using-lets-encrypt-for-free-ssl-certs-with-netscaler/

I found that I was able to get a free Let’s Encrypt certificate for my test environment, but I also find that when only having one public IP address I needed a SAN certificate to do my testing of different functions on the NetScaler and backend resources.

I flowed the Citrix blog https://www.citrix.com/blogs/2015/12/09/using-lets-encrypt-for-free-ssl-certs-with-netscaler/ all the way up to Steep 2, where I did some changes:

Step 2, multi hostname response:

As we are requesting a SAN certificate Let’s Encrypt is testing for every hostname and the response code. First, create all the FQDN’s to point to your NetScaler at your DNS provider.

Create html response page for the FQDN’s:

Netscaler > AppExpert > Responder > HTML Page Imports


Create additional FQDN’s response:


Now create responder actions for every FQDN’s

Netscaler > AppExpert > Responder > Action


Create responder policies to point the citrix.domain.com and sts.domain.com to the corresponding html page.

Netscaler > AppExpert > Responder > Policies


Create content switching vserver on port 80. This is where firewall rules, routes, etc. should be added.

NetScaler -> Traffic Management -> Content Switching -> Content Switching Virtual Servers


Bind your responder policies to this content switching server.


Add binding for other responder policies.


Before continuing test the response for citrix.domain.com and sts.domain.com. The replay would be citrix and sts, if the responder action, policy and content switching configuration is correct.

Step 3: Create the certificate request

To make the SAN certificate request connect to the Let’s Encrypt server on ssh and run the flowing command:

certbot certonly -–manual –-email user@domain.com -d citrix.domain.com -d sts.domain.com –-rsa-key-size 2048


Copy the marked code to the responder html page for citrix.domain.com:


Do the same for the sts.domain.com:


Copy the marked code to the responder html page for sts.domain.com:


Before continuing test the 2 pages is responding with it’s uniq code. When you have tested the response go on:

Let’s Encypt will validate that the page presented contains the expected text and will then issue the certificate, assuming that your responder is properly working and the response matches what Let’s Encrypt expects.

Upon success, Let’s Encrypt will produce a set of files in /etc/letsencrypt/live/domain.com/.  These PEMs need to be converted before they will work with the netscaler.

  • pem – the actual server cert
  • pem – the intermediate certificates required
  • pem – the server cert + the chain
  • pem – the private key for the server cert

To get the certificate installed on the NetScaler flow Step 4, on https://www.citrix.com/blogs/2015/12/09/using-lets-encrypt-for-free-ssl-certs-with-netscaler/

Let’s Encrypt will support wildcard certificates in 2018, but for now we can get a SAN certificate with multiple FQDN’s. With NetScaler Content Switching we can then control multiple sites on one public IP.


Page 3 of 3

Powered by WordPress & Theme by Anders Norén